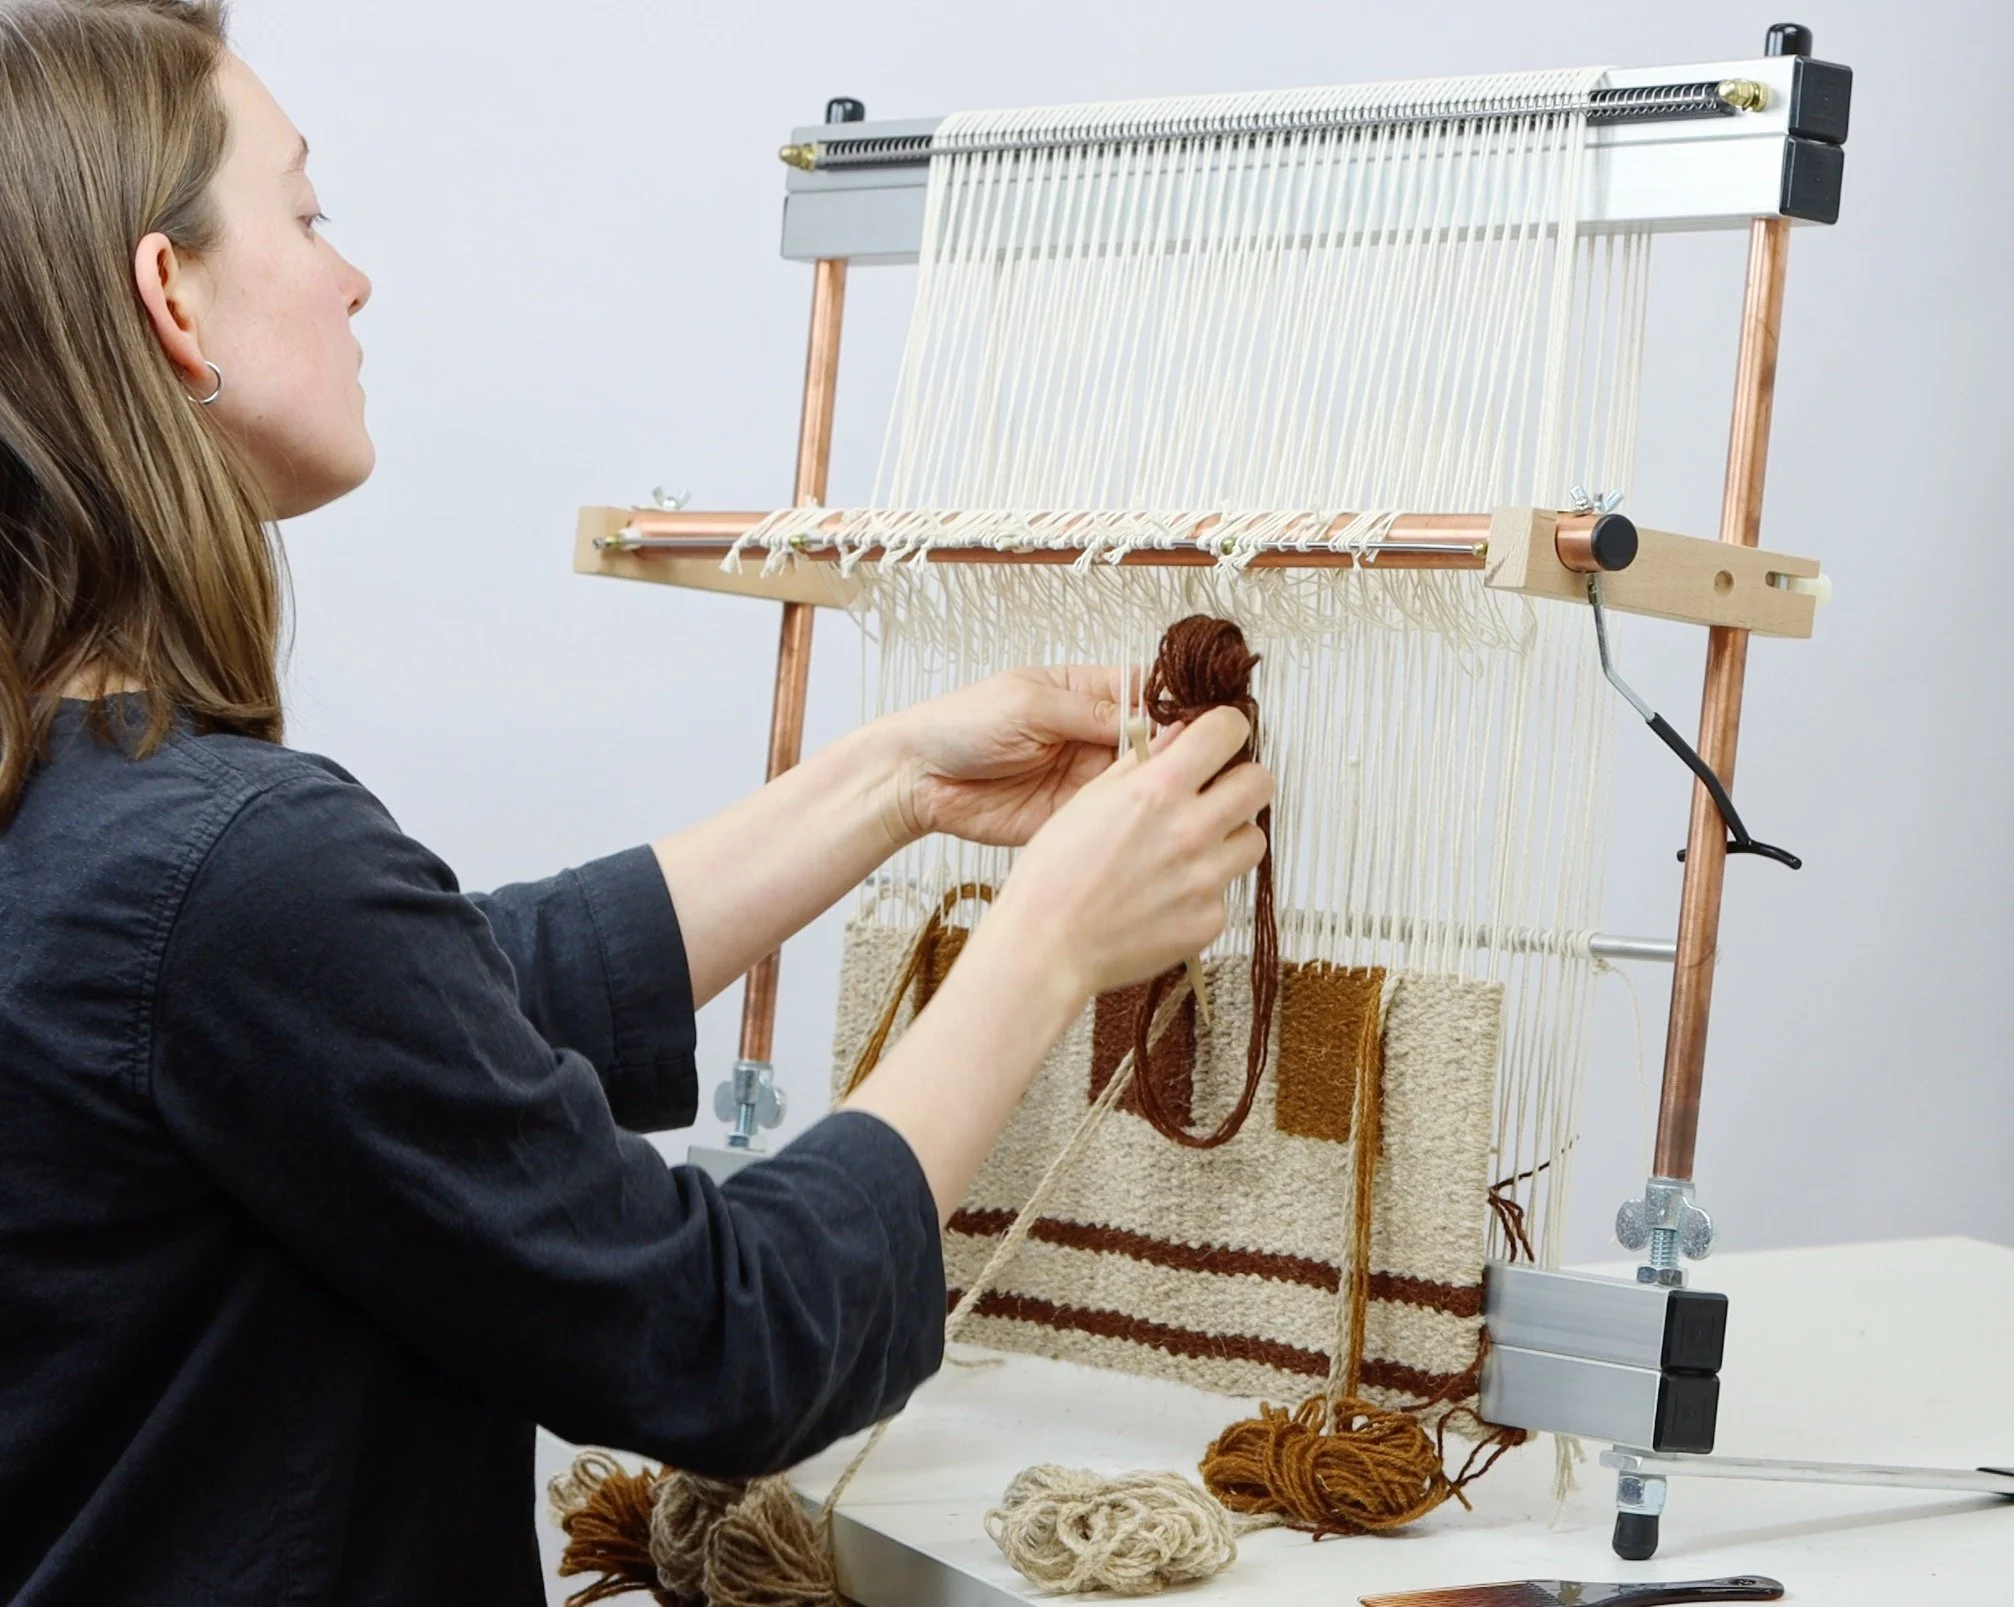
RUG WEAVING ON A MIRRIX LOOM

This is in-depth online weaving course, showing you how to use your Mirrix loom to weave unique rugs.
You’ll learn how to set up your loom for rug weaving, hone your skills and build from basic up to advanced weaving techniques.
Created in partnership with Mirrix Looms
Enrolment for Rug Weaving On A Mirrix Loom is opening soon!
Due to popular demand, this course will run again in Summer 2026
Sign up to the waiting list below to be notified when enrolment re-opens


About This Course
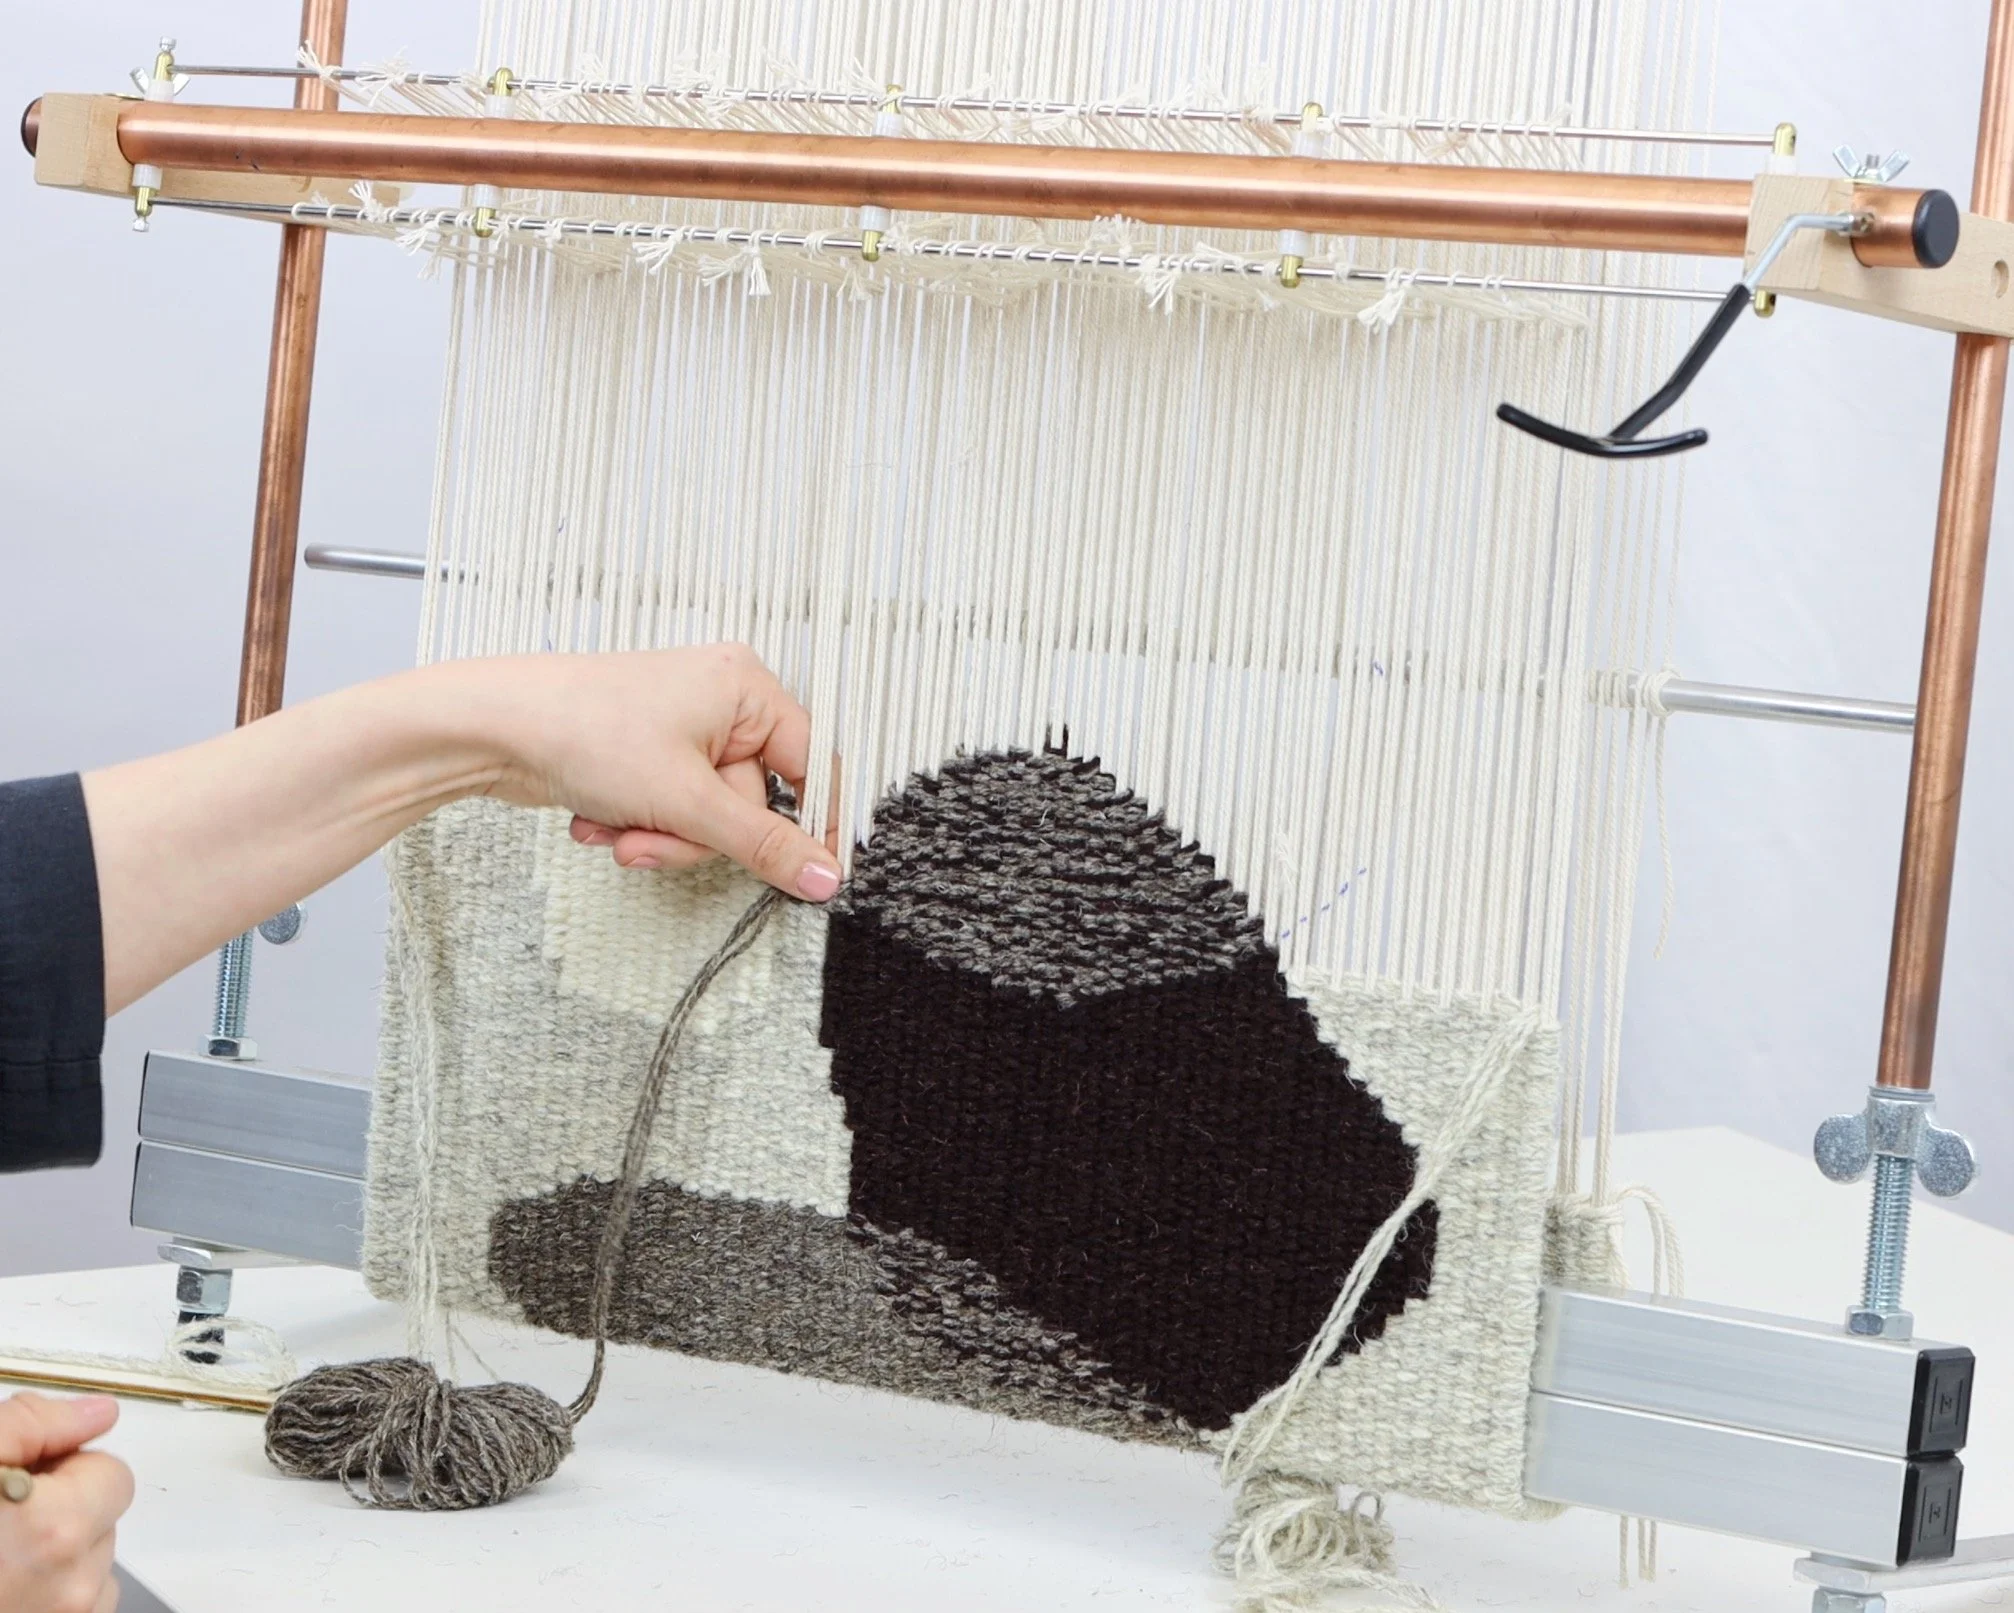
Rug Weaving On A Mirrix Loom covers how to warp your loom in 4 different ways and weave 8 different sample rugs with 4 different finishing methods.
Each rug will combine multiple patterns and techniques, with downloadable templates that students can follow or customise however they like.
Along the way, I’ll be sharing what I’ve learnt in almost a decade of weaving professionally, and answering your questions over email and dedicated discussion threads!

Each video is pre-recorded and close captioned, so you can watch at your own pace, as many times as you need.
PDF workbooks are included for you to download with each module, along with templates to guide you as you weave.
If you need additional help and guidance, I’ll be answering student questions via email and in the discussion threads at the end of each module.
Best of all, you get lifetime access to all course content, so you can come back to the course as many times as you need.
Included In This Course
18 Pre-Recorded Videos
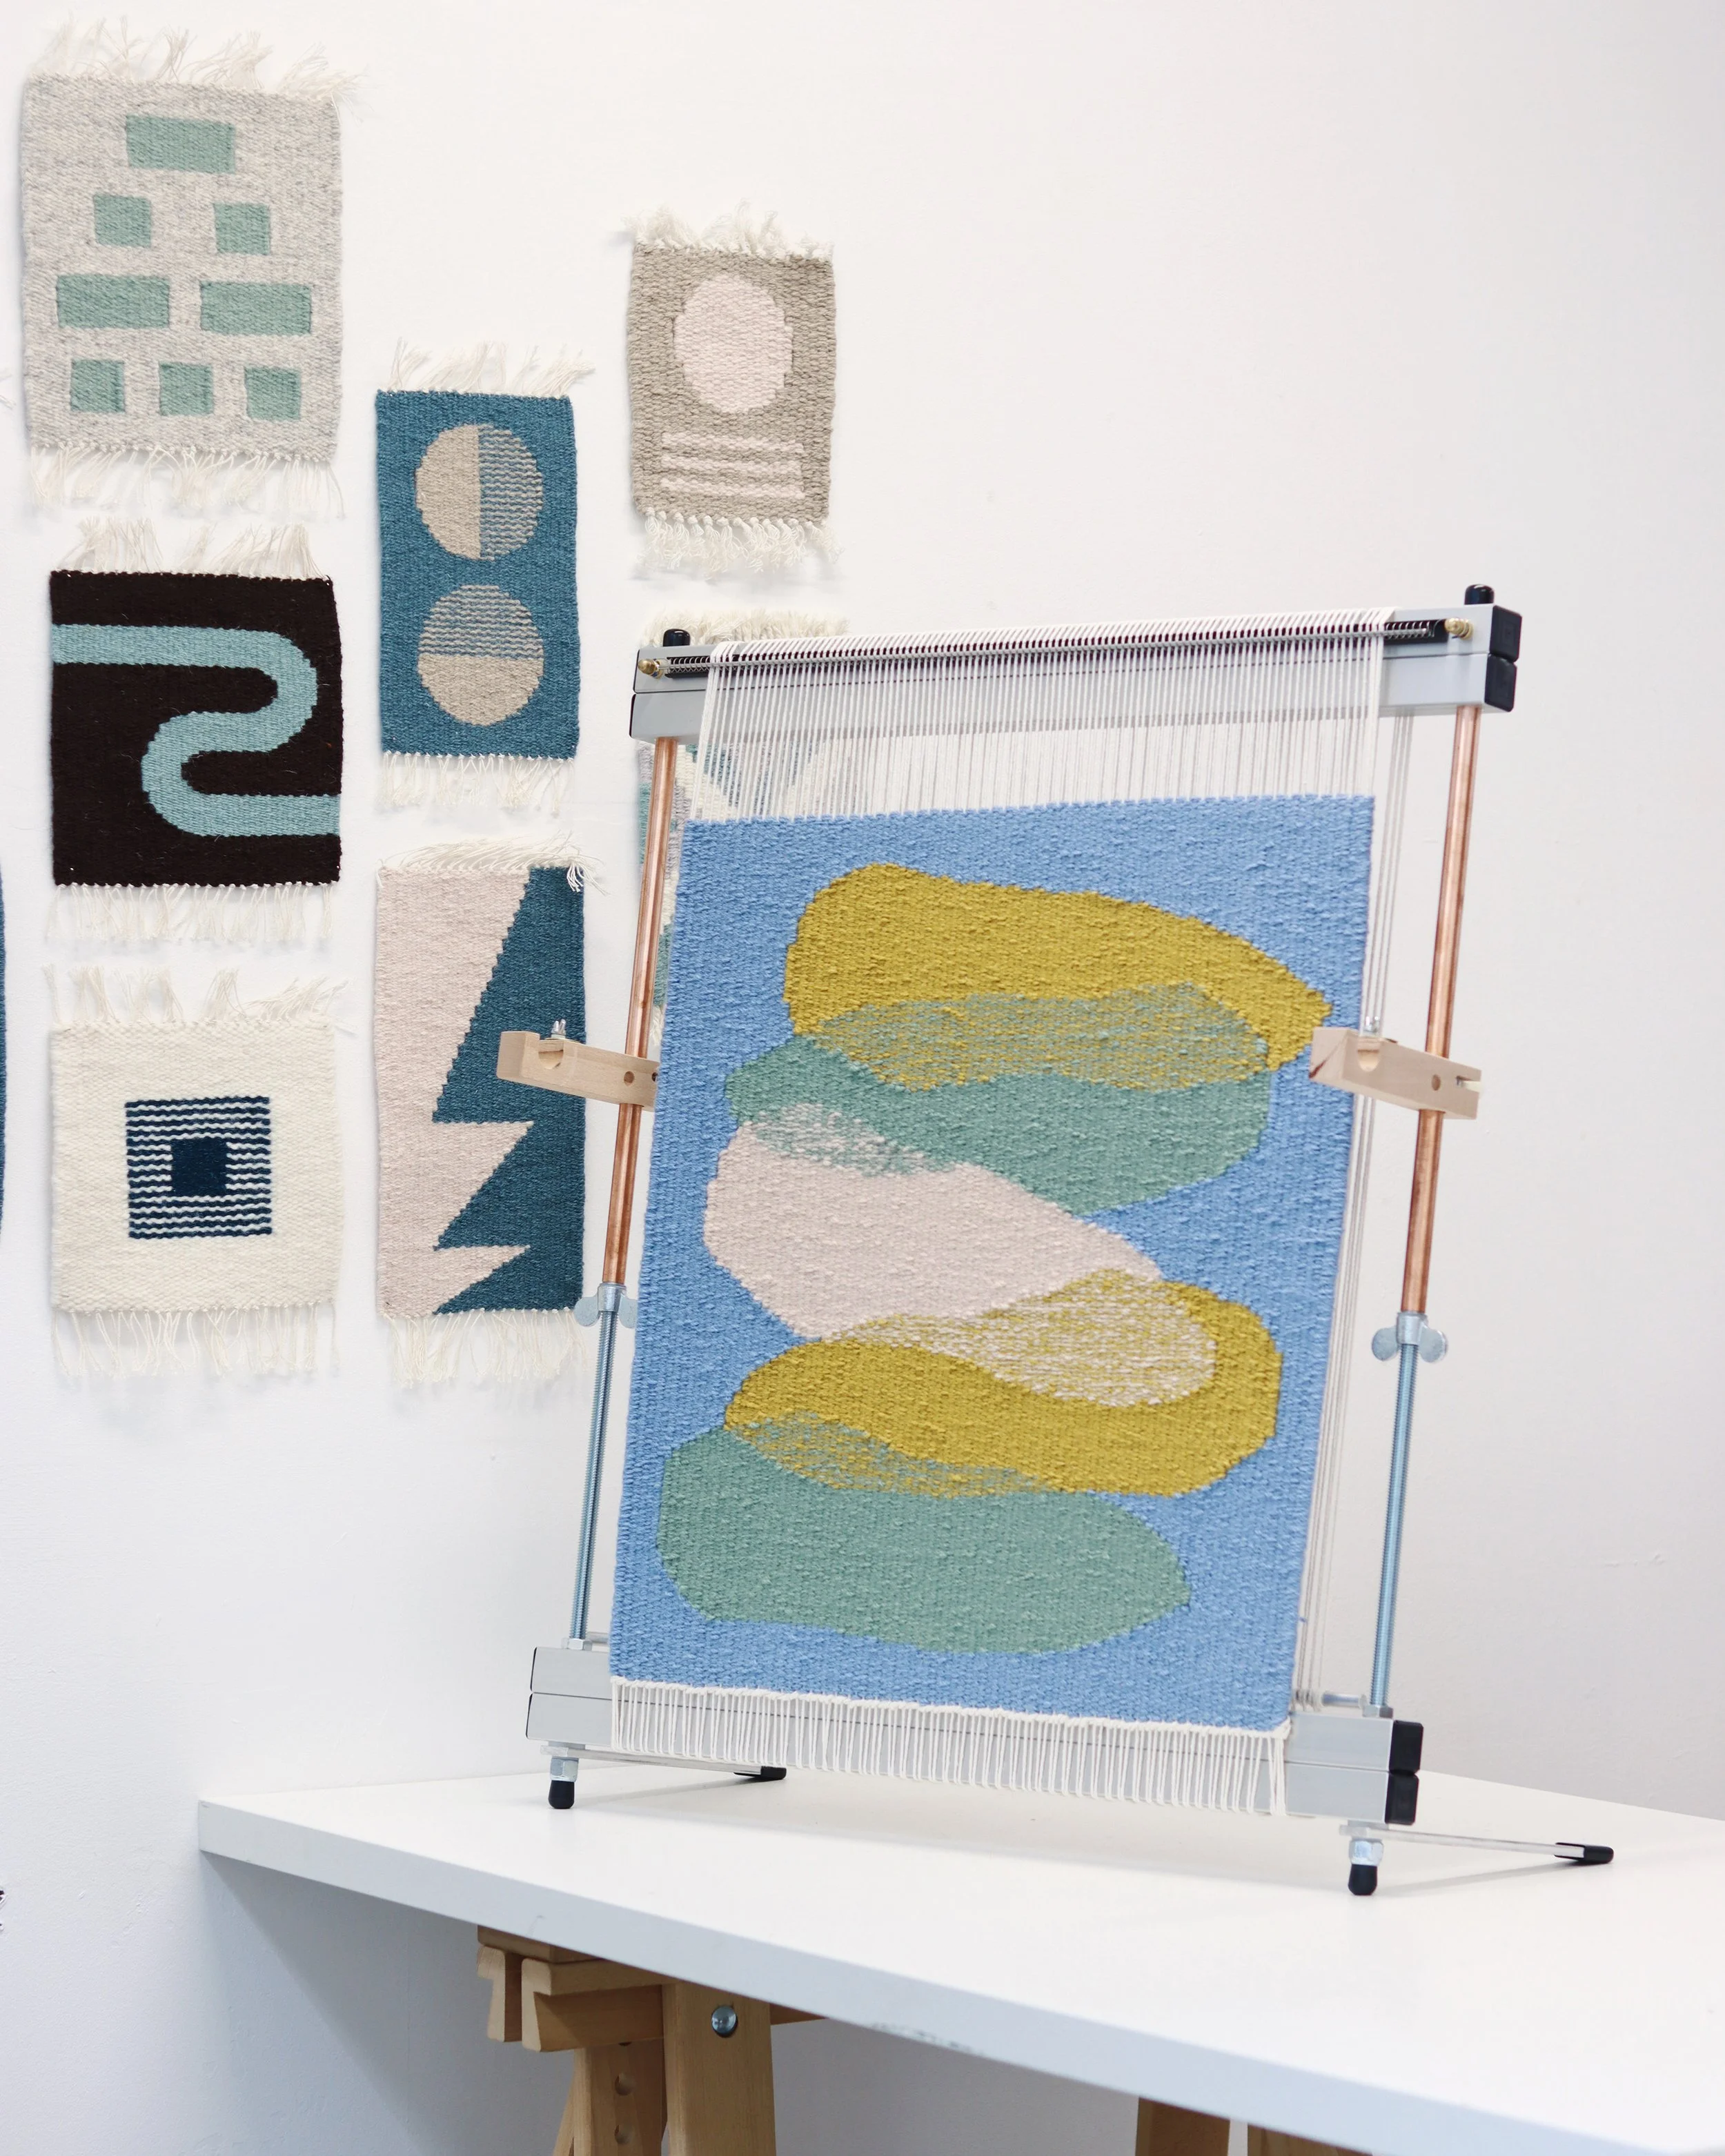
These videos cover the full process of rug weaving on a Mirrix loom from start to finish, including 8 different sample rugs. Closed captions and transcripts are available for each one.
10 PDF Templates
Each video comes with PDF templates to show the full design of the rug, and additional templates are provided for cut-out shapes to guide you as you weave.
Video Discussion Threads
At the end of each module there is a discussion page dedicated to that module, where you’ll be able to share your work and get feedback. You can also ask questions in the comments underneath each video.
Email Support
There is a dedicated email address where you can get in touch and ask questions
Lifetime Access
Your access to the course will never expire and you’ll be able to come back to it as many times as you like.

What You’ll Need
A Medium to Large Mirrix Loom - You will need a loom with a minimum weaving width of 16”. I am using the 28” McKinley Loom.
Extended Shedding Device - This creates a bigger shed to enable you to weave easily across the loom.
4dpi & 5dpi Warp Coils - Different warp coils are used at various points in the course. Coils can be purchased from Mirrix here.
Warp Yarn - all the rugs are woven using 2mm cotton cord, one rug is woven with 3mm cotton cord. You will need at least 500g of 2mm cotton cord to start with.
Weft Yarn - I am using DK and Aran weight rug yarn. You will need approx 300-400g of weft yarn for each rug.
Weaving Tools - flat stick shuttles, a bobbin, a comb, a tapestry needle and sharp scissors.
Browse my recommended stockists and suppliers here
I've never woven before. Is this course suitable for me?
Yes! This course is designed for beginners and experienced weavers alike.
Can I use a different loom for this course?
I am using the 28” McKinley loom for this course but there are other looms available that work in a similar way! If you have a Schacht Tapestry Loom or an Ashford Tapestry Loom you can use one of these as well.
You could also adapt the instructions in this course for a rigid heddle or simple frame loom. However, to get the best results I recommend using a loom that allows for continuous warping, like the Mirrix loom.
Can I use a different size of Mirrix loom for this course?
I am using the 28” McKinley loom for this course but you can use a Mirrix loom that is larger or smaller than this! Just make sure it is a loom with a minimum weaving width of 16” so you can weave the rug samples covered in this course.
What size warp coils do I need?
For this course you need a 4epi (for use in Modules 1 & 3) and a 5epi warp coil (used in Modules 2 & 4) These can be purchased from Mirrix here.
Can I download the modules?
Each module comes with a downloadable PDF of video notes, so you can have step-by-step instructions to hand while weaving. However, the videos themselves cannot be downloaded. Our videos are hosted on a platform similar to Youtube - if your internet connection is not strong enough to watch Youtube, it will not be strong enough for this course. Please check this before you sign up!
Course Contents
When the course begins, you will get instant access to Module 1. Subsequent modules are uploaded each week, to give you plenty of time to work through each one.
You'll be notified by email when the next module is available, and you have lifetime access to all course content! So you can keep coming back to the course as many times as you like.
Module 1 - Stripes, Blocks & Colour Blending
Available 12th January 2026
5 videos & 2 downloadable PDFs
1.1 Introduction To Rug Weaving - the loom, tools & materials I am weaving with, plus the theory behind rug weaving.
1.2 Warping Your Mirrix Loom at 4epi- how to warp your Mirrix Loom at a sett of 4epi
1.3 The Stripes & Blocks Rug - Weaving a rug with stripes, blocks, interlocking and hatching
1.3 Stripes & Blocks Rug Template - PDF
1.4 The Colour Blend Rug- how to blend colours together on your loom and create complex effects
1.4 Colour Blend Rug Template - PDF
1.5 The Overhand Knot Finish - how to take your rug off the loom and finish it with overhand knots.
Module 2 - Geometric Rug Patterns
Available 19th January 2026
4 videos & 4 downloadable PDFs
2.1 Warping Your Mirrix Loom at 5epi - how to set up your loom with cotton warp at a closer sett
2.2 The Triangles Rug - weaving patterns of diamonds, triangles and chevrons.
2.2 Triangles Rug Template - PDF
2.3 The Circles Rug - weaving patterns of curves and circles.
2.3 Circles Rug Template - PDF
2.3 Circle Cut Out Template - PDF
2.3 Archways Cut Out Template - PDF
2.4 The Folded Edge Finish - finishing your rug with a flat edge instead of a fringe.
Module 3 - Advanced Rug Patterns
Available 26th January 2026
5 videos & 2 downloadable PDFs
3.1 Troubleshooting On A Mirrix Loom - Fixing issues as they arise on the loom
3.2 Double Warping Your Mirrix Loom - warping at a sett of 4epi of doubled warp.
3.3 The Abstract Shapes Rug - weaving patterns of abstract shapes using cut outs.
3.3 Abstract Shapes Rug Template - PDF
3.4 The Striped Shapes Rug - weaving striped shapes in repeat patterns or overlapping
3.4 Striped Circles Rug Template - PDF
3.5 The Serge Edge Finish - finishing your rug with a serge edge
Module 4 - Textured Rug Patterns
Available 2nd February 2026
4 videos & 2 downloadable PDFs
4.1 Warping Your Mirrix Loom With Extra Thick Warp - using macrame cotton or thick cotton cord to create a rigid rug
4.2 The Knotted Rug - creating patterns using rya knotting
4.2 Knotted Rug Template - PDF
4.3 The Soumak Rug - using soumak to create a raised surface on your rug
4.3 Soumak Rug Template - PDF
4.4 The Hemstitch Finish - how to finish a rug with extra-thick warp, using hemstitching to create a fringe.